Analytical Techniques for Powder Metallurgy in Manufacturing: XRD, XRF & Micro-CT
XRD, XRF and micro-CT are useful techniques for process control of manufacturing processes involving powder metallurgy.
This article is an overview of what you can analyse with these techniques, including crystalline phases, surface inspection for quality control, element mapping, residual stress and texture analysis.
Blue Scientific is the official Nordic distributor of Bruker XRD and XRF in the Nordic region (Norway, Sweden, Denmark, Iceland and Finland) and micro-CT in the UK and Nordic region. If you have any questions or if you’d like a quote, please get in touch:
Bruker XRD & XRF
Bruker Micro-CT
Contact us on 01223 422 269 or info@blue-scientific.com
Metal Powders in Production Processes
Power metallurgy is an important part of many production processes. Additive manufacturing, hot isostatic pressing and metal injection molding all use metal powders.
XRD, XRF and micro-CT are powerful analytical techniques for analysing metal powders and products in manufacturing. We offer a range of instruments from Bruker, a worldwide leader in X-ray analysis, for elemental and compositional analysis of these advanced materials.
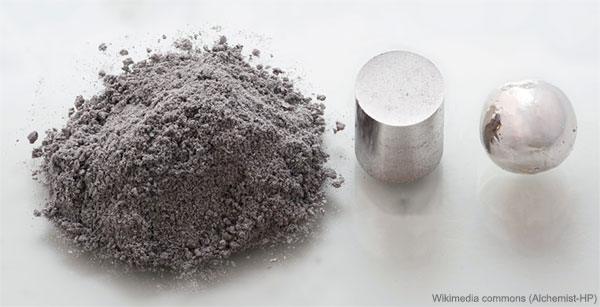
Here’s an overview of what you can analyse – for more details or if your area isn’t mentioned, please get in touch.
Metal Powders
Elemental Composition (XRF)
- Fast, comprehensive measurement of major and minor elements, and impurities
- Incoming materials inspection
- Quality control of final metal powders
Crystalline Phases (XRD)
- Crystalline phase composition and structure analysis, for product quality and process control
- Validate metal powder and binder precursor feed-stock
- Quantify injection mold mixtures
Morphometry (Micro-CT)
- Quantitative analysis of the form of metal powders
- Sphere size distribution, sphericity, packing, porosity, surface to volume ratio, surface roughness, convexity and form factor
CAD Comparison (Micro-CT)
- Quantitative comparison of the manufactured part to the original CAD model
- Measure deviations in 3D (internal and external surfaces)
- Examine parts in additive manufacturing, hot isostatic pressing and metal injection molding (MIM)
Failure Analysis
Element Mapping (XRF)
- Analyse inhomogeneity, inclusions and foreign particles
- 300 µm resolution
Residual Stress Analysis (XRD)
- Study the stress state of parts after processing
- Predict the lifetime of components:
- Compressive surface stress is usually linked to long lifespans
- Tensile surface stress can be an early indicator of failure
Texture Analysis (XRD)
- Quantify crystallite orientation: magnitude and direction
- Understand how crystallite alignment affects performance when materials are pushed to their limits
Crystalline Phases (XRD)
- Analyse phase composition and structure
- This can be linked to dimensional stability eg austenitic phase transformations in ferrous alloys
Parts Inspection (Micro-CT)
- Cracks and voids in failed products
- Contact area defects at the interface between different materials
Instruments
We offer the full range of Bruker XRD, XRF and micro-CT instruments, and are available to advise on which would be most suitable for your work.
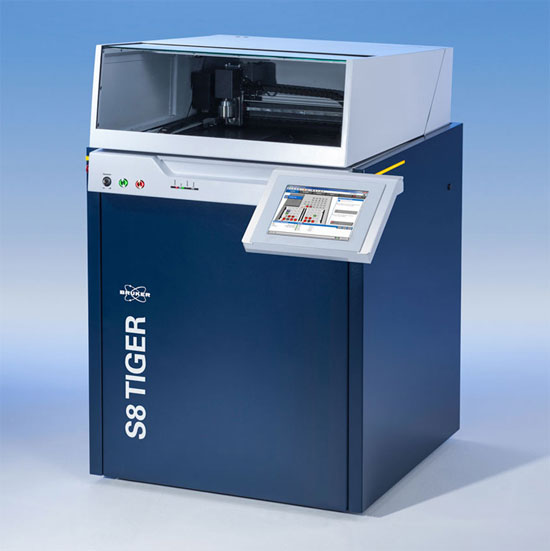
XRF: S8 TIGER
The S8 TIGER is the most versatile system available for advanced elemental analysis. You can analyse almost the whole periodic table in a matter of minutes.
Element Composition
- Measure 23 elements in less than 5 minutes with Bruker’s turn-key solution (METAL-QUANT)
- Analyse elements of interest including: Ti, Cr, Mn, Fe, Co, Ni, Cu, Nb, Mo, W and more
- Traces, down to ppm: Si, P, S, Cl, Ta, Pb and more
Element Mapping
- Small spot mapping for detailed elemental distribution maps
- 300 µm spot and 100 µm step size for power and accuracy
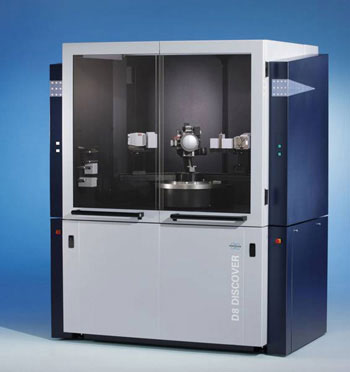
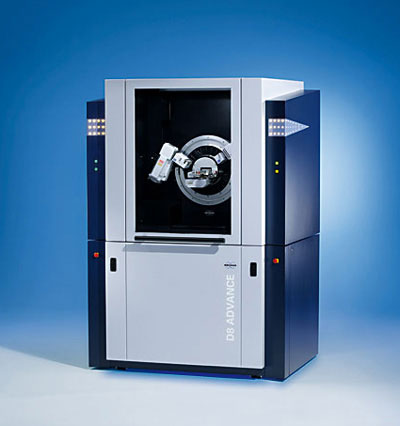
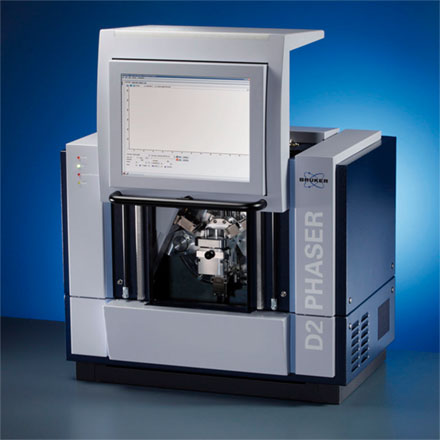
XRD: D8 DISCOVER, D8 ADVANCE & D2 PHASER
X-ray diffraction is the only non-destructive technique for analysing phase composition, texture and residual stress.
Crystalline Phases
- Phase identification, quantification and microstructural characterisation of metal powders
- Small spot measurements of product components with a microfocus source, large sample stage and 2D detector
Residual Stress
- Fast, reliable results
- 2D data collection
Texture Analysis
- Data collection in two dimensions
- Specialist software for texture analysis
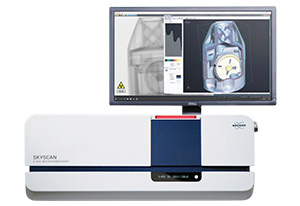
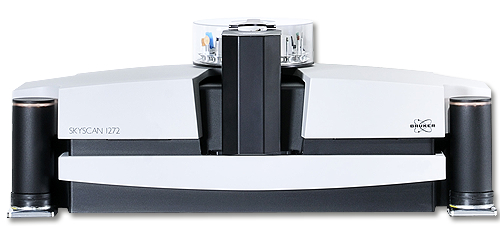
X-ray Microtomography: SkyScan 1275 & SkyScan 1272
Desktop µCT is a non-destructive technique for characterising samples from the µm to cm scale, with a resolution down to just a few microns. Fast scanning and reconstruction, in just a few minutes.
Morphometry
- Quantitatively measureme porosity, inclusions, volume fractions, orientation, dimensions, surface and angles
CAD Comparison
- Automatic, quantitative comparison of external and internal surfaces
- Pass/fail monitoring – specify your own tolerances and measurement areas
Parts Inspection
- Generate 3D reconstructions of defects for quantitative analysis
- In-situ stages for studying the effects of mechanical stress and temperature
Further Information
For more information about any of these techniques or instruments, just get in touch:


